Floss band guide: how to wrap your knee, calf and ankle
Anchoring, overlap, movement and unwrapping: this guide shows you flossing for the knee, calf and ankle. With clear timings, warning signs and an honest assessment of the research.
Published on
·19 min read
Image: saneq
How do you wrap a floss band, how long do you leave it on and when must you stop? This guide takes you through the basic technique and shows you how to apply it to the knee, calf and ankle. The guide is intended for adults; unexplained pain, swelling or an injury require medical assessment first.
This guide by the saneq editorial team draws on the safety instructions from Sanctband, the professional guides by Seifert and Suslik and Kabelik, and scientific reviews. The products come from our range; we did not carry out our own practical test. The illustration is our own schematic drawing and does not represent approval by the authors of the sources.
The manufacturer's information comes from the Sanctband product page and the general latex safety manual. These do not provide specific details on application duration or wrapping technique; for those, we use professional guides and studies. The timing rule below is cautious editorial guidance, not a verified safety limit.
What is flossing and what does the research show?
Flossing involves briefly wrapping an elastic band around a muscle area or joint. You move the area during compression, then remove the band completely. The technique is also called Tissue Flossing, Medical Flossing or Voodoo Flossing. The pressure affects blood flow and also places stress on the skin and nerves, so increasing tension is not a sensible aim.
The meta-analysis by Yao et al. (2026) includes 20 studies with 480 healthy participants. On average, there was a very small short-term increase in joint mobility (Hedges’ g = 0.19). Overall, there was no statistically established benefit for strength, muscle function, pain, sprinting or jumping. The authors rate the quality of evidence as moderate. This does not allow a reliable promise of an effect for you.
How short is short term? The expert commentary by Cheatham and Baker (2024) describes changes in mobility in individual studies up to 45 minutes after application. A systematic review by Cheatham et al. (2024) reports measurements up to 45–60 minutes, depending on the performance measure, with inconsistent results. This is neither a guaranteed duration of effect nor evidence of a long-term benefit.
Explanations such as a “sponge effect” or the release of “adhesions” are hypotheses. Konrad et al. (2021) do not describe a conclusively proven mechanism of action. Short-term measurements in healthy people do not establish healing, injury prevention or a treatment for osteoarthritis.
How does a floss band differ from a fitness band?
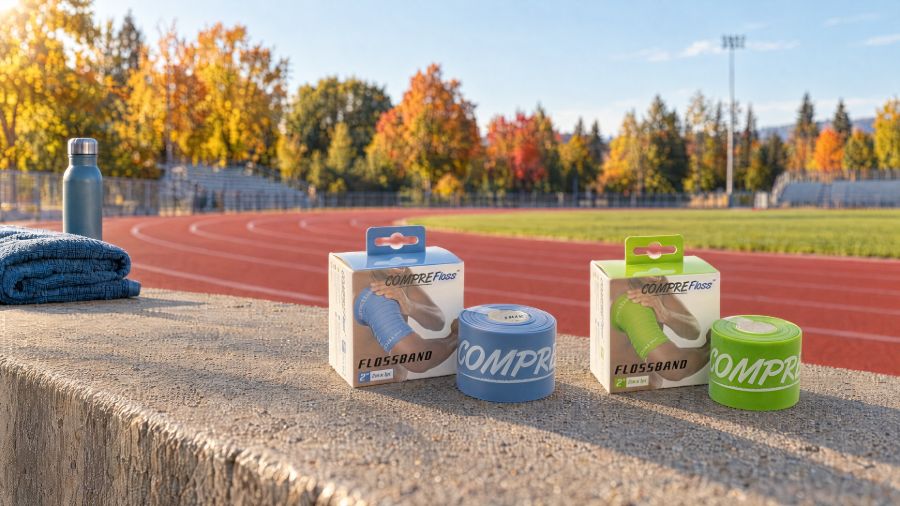
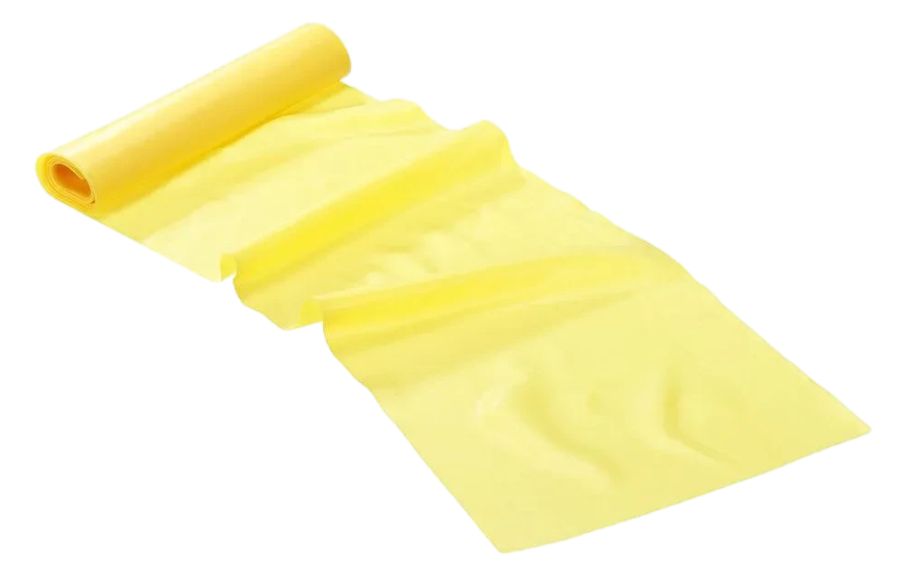
A floss band is intended for short periods of compression. A fitness or resistance band lets you train against resistance to stretching. Do not use an exercise band as a substitute for compression wrapping. You can find both types in our fitness bands category; the Sanctband Flossband is made of natural latex.
Sanctband Flossband colour
Level in the saneq range
Lime
Light
Blue
Medium
Purple
Strong
Grey
Very strong
The table helps you identify your band. Colours do not indicate measured pressure on the skin. Our product description lists light to medium levels for beginners. The knee study by Cardoso et al. (2026) used level 1 (green, listed as “lime”, light, in the saneq range) in a 5 cm width. This does not establish a fixed link between a colour and a joint.
Our range includes bands that are 2.5 cm wide and 2 m long, as well as versions that are 5.0 and 7.5 cm wide and 2 or 3.5 m long. Not every combination is available. You can find variants and current availability on the product page.
When must you not use a floss band?
Skin conditions.
Varicose veins (varicosis).
Inflammation of the veins (phlebitis).
Thrombosis.
Tumours.
Diabetes.
Bone fractures.
Open wounds.
Pathological growths.
Stage C or D heart failure.
Chronic inflammatory processes.
Latex allergy.
Lymphoedema.
Taking blood thinners.
Taking high-dose corticosteroids.
This list paraphrases the Sanctband contraindications. The manufacturer's exclusion for diabetes is not limited to cases with nerve damage. A claim of reduced latex allergens does not make a latex band suitable if you have a latex allergy. Keep floss bands out of reach of children.
The following additional limits apply to self-use in this guide, based on professional guides and the scope set by our editorial team:
If you have a recent injury, unexplained swelling, an infection or fever, or have had surgery, seek medical assessment first. Do not wrap over surgical sites that are still healing.
If you have arterial circulatory disorders, other cardiovascular conditions, nerve pain or reduced sensation, do not floss based on an online guide. Neuropathy can weaken warning signals.
Do not wrap over burns, blisters, very thin or fragile skin, or existing bruises.
This guide does not provide instructions for self-use during pregnancy. If you have low blood pressure, thyroid dysfunction or asthma, suitability must also be assessed by a doctor first.
Never floss both legs at the same time: professional guides mention a risk of fainting. The head and neck are excluded; do not transfer the following applications to other parts of the body.
Research durations are not a recommendation to leave the wrap on longer.
For self-use in this guide: about 2 minutes, no more than 3 minutes. This guidance is based on the 1–3 minutes in the research overview, the two-minute knee study and information from Swiss practices. Remove the band immediately if warning signs occur, even after just a few seconds. The longer durations in professional protocols are not a rule for home use.
If you repeat the application, wait 2–4 minutes after fully unwrapping the band and check your skin, sensation and how you feel. Keep to no more than 2–3 rounds per session; extra rounds are not compulsory. The break interval comes from Seifert and Suslik, and the number of rounds from Kabelik. Do not repeat over irritated skin or bruises.
How many days per week or how often each day? There is no established general rule. If symptoms persist, have the cause assessed instead of wrapping again and again.
Which signs mean you must unwrap the band immediately?
Stop moving and remove the band completely as soon as any of these signs occurs:
Tingling, a fuzzy sensation or numbness: even mild tingling is a sign to stop here.
White or bluish skin, especially on the foot or toes below the band.
Sharp or increasing pain, uncomfortable tightness or intolerable pressure.
Dizziness, nausea, circulatory symptoms or feeling distinctly unwell.
Itching, hives, swelling or another noticeable skin reaction.
Do not wait for the timer, and do not simply continue wrapping with slightly less tension after a warning sign. If numbness, tingling, pain or an unusual skin colour persists after removal, seek prompt medical assessment. If you have difficulty breathing or severe circulatory symptoms, get medical help immediately.
Temporary redness, warmth and light band marks can occur after removal. These reactions do not demonstrate an effect. Small bruises are described in specialist sources; only wrap that area again once the skin has healed, and review the tension and duration first. Have large or painful bruises, skin damage or persistent swelling assessed.
Hives are not simply a sign of too much tension. Together with itching or swelling, they may indicate a latex reaction. Stop using the band until the cause has been clarified.
How do you prepare and wrap the band?
The following steps describe the basic technique, drawing on Seifert and Suslik and Kabelik. Your Sanctband's own safety instructions apply. Practising for the first time with a physiotherapist is particularly helpful for getting the tension right.
Check: Inspect the band for tears, holes and cuts. Only use an undamaged band on clean, dry, unbroken skin. Choose enough length for the intended area.
Get into position: For the knee, stand steadily with your knee slightly bent. For the ankle, sit with your foot flexed; for the calf, sit or stand steadily. The exact starting points are given below.
Make the anchor: Place the start of the band at the starting point. Wrap one full turn without tension, completely covering the start of the band.
Wrap upwards: Work from the part furthest from the centre of the body towards the centre. Each new turn covers half the width of the previous turn. Keep the band flat, without folds or rolled edges. Start the timer as soon as you begin applying compression.
Control the tension: Sanctband specifies 50–90 % relative to the band length and a usual tension of 50–75 %. These are the manufacturer's figures, not an instruction to reach the upper value or a measurement of skin pressure. Half overlap only describes the position of the band. Never pull as tightly as you can; unwrap immediately if you feel pain or a change in sensation.
Secure the end: Make the last turn looser and tuck the end underneath it. Remember where it is; the end must stay accessible so you can unwrap quickly.
Move slowly: Move the area actively and only within a pain-free range. Knee: bend and straighten, then do gentle squats. Ankle: raise and lower the foot. Calf: draw the foot towards you and point it away, or raise and lower the heels. No jumping or added load.
Remove completely: Unwrap promptly after about 2 minutes, at the latest before exceeding 3 minutes. Remove immediately if a warning sign occurs. Do not keep wearing the band during everyday activities or while sleeping.
Take a break: Check your skin and sensation. Wait 2–4 minutes before another round; repeat only if you feel normal, with no more than 2–3 rounds in total. Stop if symptoms occur.
How do you apply a floss band to the knee?
Before wrapping the knee: Unexplained knee pain, swelling, recent injuries or recent surgery require professional assessment first. Do not deliberately increase tension behind the knee. Unwrap immediately if tingling, numbness, discolouration or pain occurs.
Stand steadily and bend your knee slightly. Apply the anchor without tension below the kneecap, at the top of the shin.
Wrap upwards with half overlap, over the knee and onto the lower thigh. In this application, the kneecap is covered.
Make the last turn looser on the thigh and tuck the end underneath it, keeping it accessible.
Slowly bend and straighten your knee. If this is pain-free, follow with gentle squats without added weight. Remove the band after about 2 minutes, without waiting until the 3-minute limit; remove it immediately if warning signs occur.
Knee wrap from a professional guide: 1 = anchor below kneecap, no tension. 2 = upwards, half overlap, kneecap covered. 3 = tuck end loosely underneath. 4 = bend and straighten knee. Sanctband gives usual tension as 50–75 %. Remove after about 2 minutes; immediately for tingling, numbness or discolouration.
Image: saneq
The text and diagram show the knee application based on Seifert and Suslik (2018). The starting position with a slightly bent knee is also described by Ahlhorn (2015) and Cardoso et al. (2026). The diagram shows the path of the band, not a pressure measurement.
There are different ways to apply the band: in the study by Cardoso et al., the kneecap was left uncovered; the authors refer to manufacturer instructions that are not available to us. In 60 healthy adults, a two-minute application with Sanctband level 1 (green, listed as “lime”, light, in the saneq range) and mobilisation was studied. The median increase in active knee flexion was 5° with the band and 0° without it; for passive flexion, it was 6° and 1°. No adverse events were reported. This small study without later follow-up measurements proves neither general safety nor a benefit for osteoarthritis or after surgery. The application illustrated here, with the kneecap covered, was not tested in that study.
How do you apply a floss band to the ankle?
Before wrapping the ankle: Do not wrap a recent ankle sprain or unexplained swelling yourself. If tingling, numbness, white or blue toes, pain or dizziness occurs, remove the band fully and immediately.
Sit steadily and keep your foot flexed. Place the start of the band under the sole of the foot and wrap the anchor around the midfoot without tension; leave the toes free.
Wrap over the ankle towards the calf with half overlap. In this version, the heel stays uncovered. The professional guide also allows you to wrap the heel as an option. If the wrap slips, remove it completely and start again instead of increasing the tension.
Secure the end above the ankle, under a looser final turn.
Slowly raise and lower your foot within a pain-free range. As an additional movement, you can move into a kneeling lunge: the wrapped leg is in front, the heel stays on the floor and the knee moves gently forwards and back. Remove the band after about 2 minutes, never exceeding 3 minutes; remove it immediately if warning signs occur.
Before wrapping the calf: Have unexplained calf swelling or pain assessed first. Finish wrapping below the hollow behind the knee: blood vessels and nerves lie close to the surface there. If tingling, numbness, discolouration or pain occurs, unwrap fully and immediately.
Sit down or stand steadily. Start roughly halfway up the lower leg, where the belly of the calf muscle begins. Apply the anchor without tension.
Wrap upwards with half overlap and stay below the hollow behind the knee. Leave that hollow uncovered in this calf application; do not apply extra tension over a painful point.
Secure the end under the looser final turn and keep it accessible.
Slowly draw your foot towards you, then point it away again. While standing steadily, you can raise and lower your heels in a controlled way; hold on to something if needed. Stay within a pain-free range and remove the band after about 2 minutes, never exceeding 3 minutes. Warning signs mean you must stop immediately.
The path of the band is based on Kabelik (2017), application to the proximal lower leg. Foot movement and heel raises put the principle of active mobilisation described there into practice; this does not establish a fixed number of repetitions.
Area
Anchor
Path and end
Gentle movement
Knee
Below the kneecap
Over the kneecap to the lower thigh
Bend and straighten, gentle squats
Ankle
Under the sole, around the midfoot
Over the joint towards the calf; end above the joint
Raise and lower the foot; kneeling lunge with the heel on the floor
Calf
Roughly halfway up the lower leg
Upwards to below the hollow behind the knee; leave the hollow uncovered
Draw the foot towards you and point it away, raise and lower the heels
For band length, Kabelik gives 2–2.5 m for the ankle and calf; a 2 m roll falls within this range. For the knee, he gives 2.5–5 m. Our range includes a 3.5 m length for this purpose. Sanctband describes wider bands as an option for the knee and large joints; we offer a 7.5 cm width. Choose enough band for the entire application with half overlap. Do not compensate for insufficient length by pulling harder.
How do you care for and store your floss band?
Check it for holes, tears and cuts before every use. Replace damaged bands immediately.
Clean it with a damp, clean cloth, as instructed by Sanctband.
Store it away from direct sunlight and out of reach of children.
Sanctband recommends replacement after 6–9 months of active use. This is not a guaranteed lifespan; replace the band sooner if it is damaged.
The Sanctband Flossband is intended for the compression application described. The Trendy Tone-Loop is a closed-loop resistance band, while the Trendy Limite Band is an open band for resistance training. Do not wrap either exercise band as a floss band; their use belongs in a separate exercise programme.
What are the frequently asked questions about flossing?
Make an anchor without tension, wrap towards the centre of the body with half overlap and move the area slowly. Then unwrap completely. Check the contraindications beforehand and learn the signs to stop. Sanctband requires knowledge of the application and risks or professional guidance; to get started, we recommend practising the first application together with a physiotherapist.
In this guide, about 2 minutes, no more than 3 minutes. If you experience tingling, numbness, discolouration, pain, dizziness or skin reactions, unwrap fully and immediately. The timing rule draws on specialist sources and studies; it is not a guaranteed safe time window. The band is not left on as an everyday support bandage.
Take a 2–4-minute break and check your skin and sensation before repeating. No more than 2–3 rounds per session, and only if you feel normal. There is no established general rule for applications per day or per week. Do not wrap again over irritated skin or bruises; if symptoms persist, have the cause assessed.
The meta-analysis by Yao et al. (2026) found a very small short-term effect on mobility in healthy people. Overall, there was no statistically established benefit for strength, muscle function, pain, sprinting or jumping. This does not allow a promise of an effect for you or of treatment for a medical condition.
Pain, skin discolouration, bruising and altered sensation have been described. Natural latex can trigger allergic reactions. Unwrap fully and immediately if warning signs occur. Have hives or itching assessed before using the band again; get medical help immediately if you have difficulty breathing or severe circulatory symptoms.
Follow the complete Sanctband list and the additional limits above. These include latex allergy, thrombosis and diabetes; these examples do not replace the list. Recent injuries, unexplained swelling and postoperative symptoms are not a reason to treat yourself with a floss band.
This guide gives no assurance of suitability in these cases. Short-term studies in healthy adults do not answer that question. Discuss your symptoms and possible use with your treating healthcare professional. The sources do not establish a general waiting period before starting after surgery.
Still unsure? It is best to practise your first application with a physiotherapist. For symptoms and the question of whether flossing is suitable for you, contact your treating healthcare professional. For questions about products, variants and availability, saneq can help.
Would you also like to learn about kinesiology tapes? The following guide explains their own application and safety instructions.